前言 在之前的所有的工作都是准备工作,现在接下来正式开始编写代码。
这里面主要会讲解一些EgretWing 的使用和exml与逻辑代码结合的例子,初学者对这里很是有疑惑。这里要说一下我们之前皮肤编辑中使用的ID ,不知道大家有没有印象,我们给很多组件设置了ID 。我们就是利用这个ID 使皮肤中的组件和逻辑代码关联起来,进而对逻辑组件进行逻辑操作。
在正式编辑皮肤与逻辑之间代码之前,我们先编辑一下其它代码,主要进行界面的管理.Wing 中整理如下布局,这个根据个人习惯。
场景切换 这里不会过多的讲解,更详细的内容请参考这里的教程
这里主要还是利用自定义事件来传递消息,进行场景切换操作。在Wing的中快捷整理代码,现在需求全选代码,然后ctrl/cmd+i,这个快捷键就是格式化代码,马上会提供全局代码格式化快捷方式。自定义一个类,取名SceneEvent,具体内容
1
2
3
4
5
6
7
8
9
10
11
12
13
14
15
16
17
18
19
20
21
module game { /** * * @author xsstomy * */ export class SceneEvent extends egret.Event{ public static ChangeScene: string = "changeScene"; public eventType: string;//事件类型 public eventObj: any;//对象 public static GAME_START: string = "gamestart"; public static GAME_PLAYING: string = "gameplaying"; public static GAME_END: string = "gameend"; public constructor(type: string,bubbles: boolean = false,cancelable: boolean = false) { super(type,bubbles,cancelable); } } }
然后创建一个管理类,取名ViewManager
1
2
3
4
5
6
7
8
9
10
11
12
13
14
15
16
17
18
19
20
21
22
23
24
25
26
27
28
29
30
31
32
33
34
35
36
37
38
39
40
41
42
43
44
45
46
47
48
49
50
51
52
53
54
55
56
57
58
59
60
61
62
63
64
65
66
67
68
69
module game { /** * * @author xsstomy * 场景舞台,这里是我个人设定的为舞台 */ export class ViewManager extends egret.Sprite { public constructor() { super(); } private static instance: ViewManager; private gameStart: GameStart; private gamePlaying: GamePlaying; private gameOver: GameOver; //获取单例 public static getInstance(): ViewManager { if(ViewManager.instance == null) { ViewManager.instance = new ViewManager(); } return ViewManager.instance; } //开始 public start() { this.init(); this.initListener(); } //初始化数据 private init() { this.gameStart = new GameStart(); this.gameOver = new GameOver(); this.gamePlaying = new GamePlaying(); this.addChild(this.gameStart); } //初始化事件监听 private initListener() { this.addEventListener(SceneEvent.ChangeScene,this.onChangeScene,this); } private onChangeScene(e: SceneEvent) { //移除所有子对象 this.removeChildren(); //判断事件,接下来添加哪个场景在舞台展现 switch(e.eventType) { case SceneEvent.GAME_START: this.addChild(this.gameStart); break; case SceneEvent.GAME_PLAYING: this.addChild(this.gamePlaying); break; case SceneEvent.GAME_END: this.addChild(this.gameOver); break; default: break; } } } }
皮肤与逻辑代码
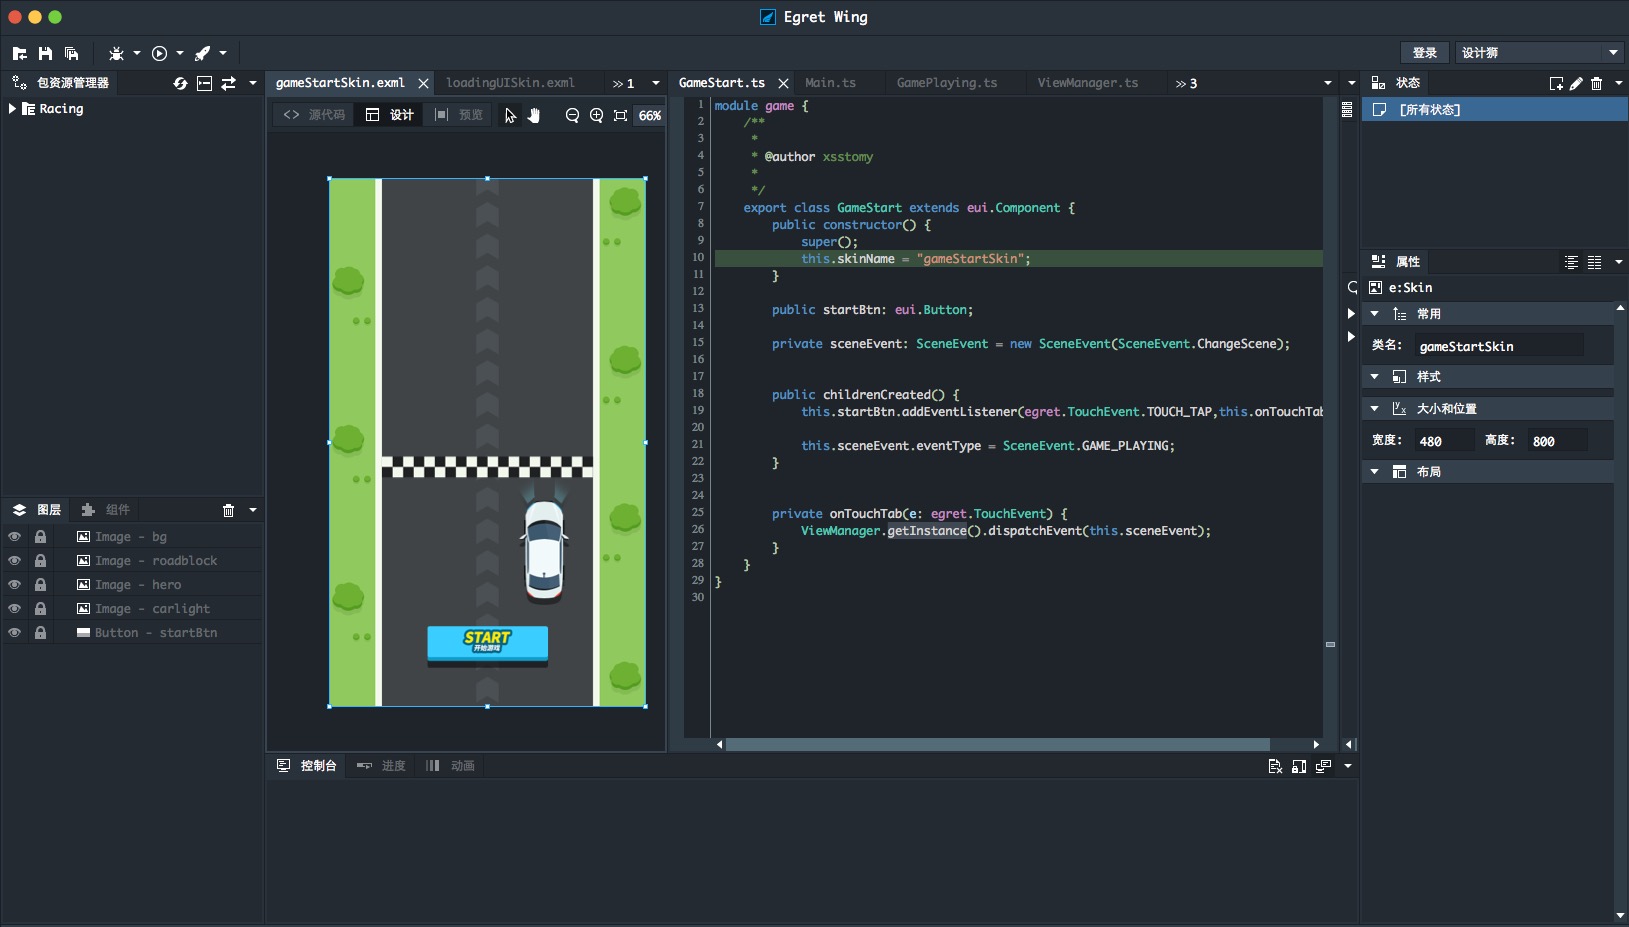
这里以GameStart.ts类讲解。
this.skinName = "gameStartSkin";这里 .
public startBtn:eui.Button;注意 这里的名称很重要,可以对比图中的图层,一个Button组件,ID为startBtn . 这两者就同一个同一个ID关联起来了。即面板中的Button组件,游戏开始按钮,在逻辑代码中,我们操作startBtn这个代码中的逻辑,那么显示效果就跟着发生变化。
private sceneEvent: SceneEvent = new SceneEvent(SceneEvent.ChangeScene);
1
2
3
4
5
6
public childrenCreated() { this.startBtn.addEventListener(egret.TouchEvent.TOUCH_TAP,this.onTouchTab,this) this.sceneEvent.eventType = SceneEvent.GAME_PLAYING; }
这里我们覆写 childrenCreated() 方法。这个方法,在皮肤上所有的子元素创建完成之后才会调用(前提是同步调用)。即相当于,我们需要的操作的元素已经初始化好了,然后我们在这个方法里面添加相对应的逻辑。这里给button添加了一个点击事件。这里说一下,在eui和gui中,所有的组件的touchEnabled 默认的都为 true;非gui和eui,显示对象,默认都是关闭的,即touchEnabled = false
1
2
3
private onTouchTab(e: egret.TouchEvent) { ViewManager.getInstance().dispatchEvent(this.sceneEvent); }
监听startBtn点击事件。